

Custom Solution: Power Automate, Badgr and Slack


Last year I was asked to explore an internal employee recognition system. There are a number of platforms out there, with various perks and integrations, of which I looked at about a half dozen. Before I get too far, I should explain that at AccuWeather among the various departments are tribes of Teams and tribes of Slack users, with many of us within IT having to use both. When looking for ideas for the solutions I build, I often start with the Teams app templates and for this task there's a great template called Open Badges.

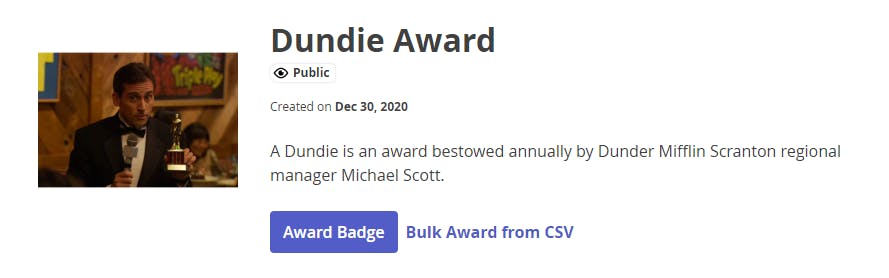
On the surface, this template checks a few the boxes I was asked to find. I was able to quickly spin up the Azure resources needed within minutes. Badgr registration was quick and easy, too, with no limits to the type of badge I could create. I will say that you do have to email Badgr to get a client ID for their API and this will take 1-3 business days. Once you have that client ID, the rest of the deploy to Azure and Teams install will take you no more than an hour. Oh, and did I mention you can make your own Dundie Awards?:
I won't go into details of the executive demo, but it was immediately obvious that this app template wouldn't work OOTB with Slack, and it was suggested that Assembly would be a better fit - full Slack integration, leaderboard, rewards, notifications. And Assembly does have a limited free tier if you don't need rewards. But as I tend to do, I don't give up on projects very easily, so I started investigating how I could replicate Assembly's Slack functionality but have all the benefits of Power Automate for custom notifications and reporting. And below are all the steps I took.
You are a Slack developer, aren't you?
Log into the Slack API homepage using your company account. You need to start by creating a custom app, which will then give you access to the Web API. Go ahead and copy all the app credentials to your text editor of choice. You then want to activate the incoming webhook - you'll want one for each channel you are going to post to, but I would start with one for dev as it will notify the channel that the app has been added. Copy the webhook URL and/or the sample curl request now shown. When I go through creating the custom Power Automate connector below, you will need to add the connector redirect URL, but you can do that now, too. Find the OAuth & Permission feature section and add this as a new redirect URL: global.consent.azure-apim.net/redirect
Next, you need to go to your Slack workspace and find Tools in the menu, then select Workflow Builder. I wasn't that keen on Workflow Builder when it was announced in 2019 and I'm still not a fan now - there just aren't enough useful features compared to what you can build with an app in Teams or automate from a Microsoft Form/Customer Voice with Power Automate. But I'm looking to replicate the form view in Slack that Assembly uses, so let's use the Builder. Start the workflow using the Shortcut trigger, select your dev channel and give it the shortcut a recognizable short name, then add a step to Open a form. Here you can customize the form view to include people selector and other questions, like I've done:
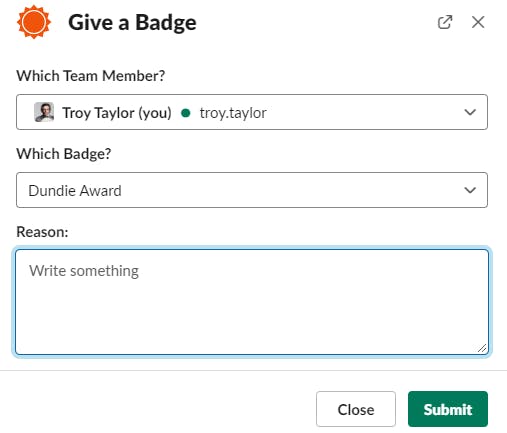
Keep in mind here that the badges I've added to that select list should match available badges you will make in Badgr later. The last step you need to do with the Send a form is to send responses to a separate channel and I would highly suggest you create a private channel that is only used for these responses. Since the app is now installed in the other channel, all event subscriptions from Slack to Power Automate can now be enabled, but you will need the HTTP POST URL created by Power Automate first (and a HTTP response action on, too).
Time to create the Flow, I mean Power Automate
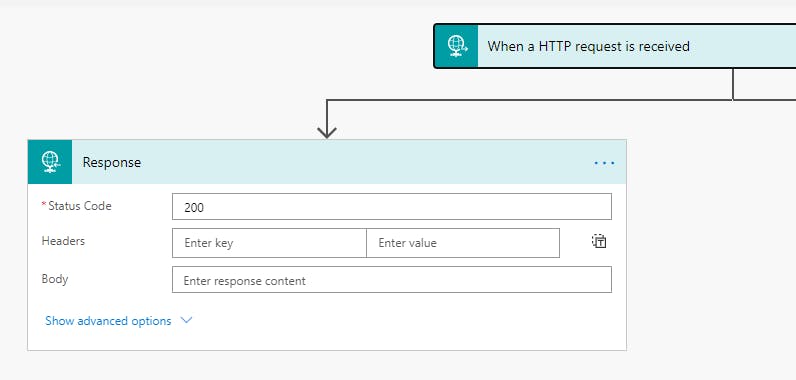
Create an Instant Cloud Flow with the When a HTTP request is received trigger. I do realize this is a Premium connector, so if you don't have Dynamics or per user license, you could make a similar trigger in Logic Apps, but I won't get into that here. Next, create a branch with a sole action of Response with a 200 Status Code. Save before trying to turn on the event subscription in the Slack app, otherwise it will fail for not receiving a response.
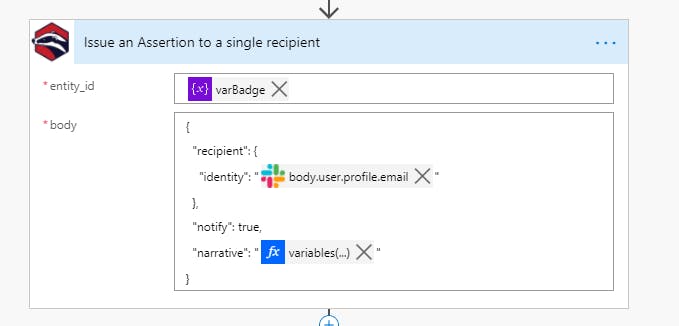
You'll next want to make another branch for all the other actions. Start by parsing the JSON from the HTTP request. The main field I'm concerned with is blocks as this will contain all the responses added to the private channel by the Slack form. You should be aware that Slack will give you the Slack user ID in the response instead of a person's real or display name. Since my Power Automate uses two API calls (and I have other solutions I could use the ID lookup for), I built a custom connector which I will blog about another time, but that uses the users.identity API call. You'll also need a list of the Badgr badge entity_ids to match the form-selected badge to. Request a client id from Badgr if you want to do this using a custom connector (another post incoming) or API call, but you will also need the client id to issue the badge. Once you have completed the badge issue
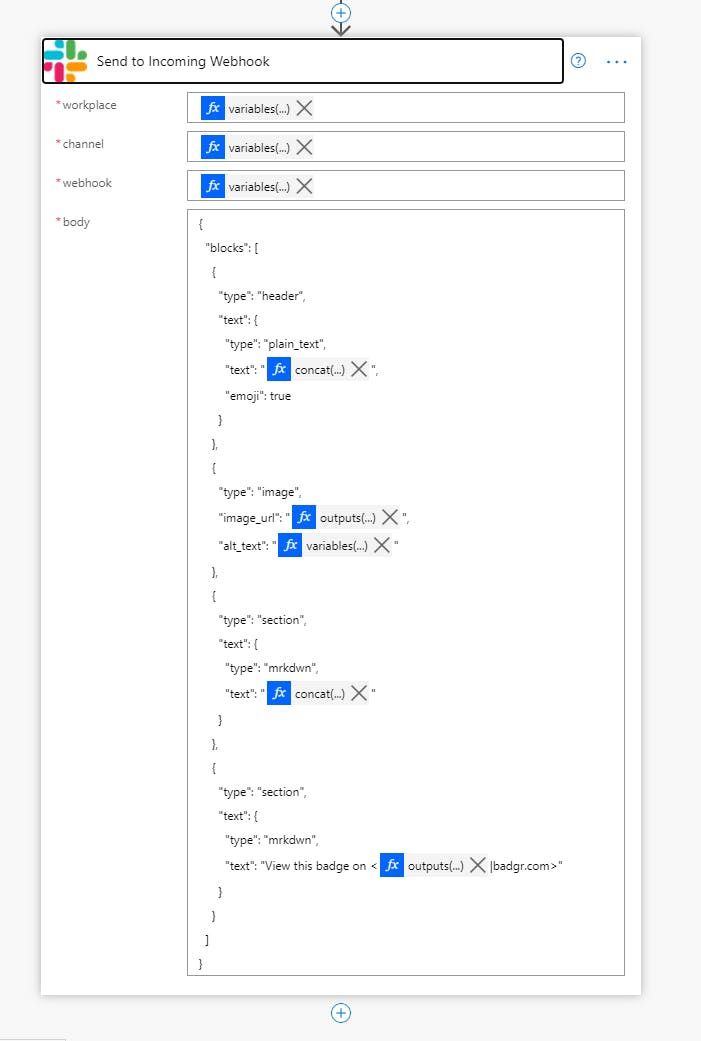
I highly recommend using Slack Block Kit Builder for a drag-and-drop template to send back to the incoming webhook(see next post) for the notification channel (dev channel if chosen above).
Now you can do all sorts of other notifications or record the badge to a SharePoint List (my favorite place to store responses, even for Microsoft Form responses).