

Custom Connector for Slack: Send to Incoming Webhook


As discussed in my earlier post, this connector uses a no authentication API POST request. You will need to enable incoming webhooks within your Slack app features, but then every time you install the app in a channel, a new webhook address will be created.
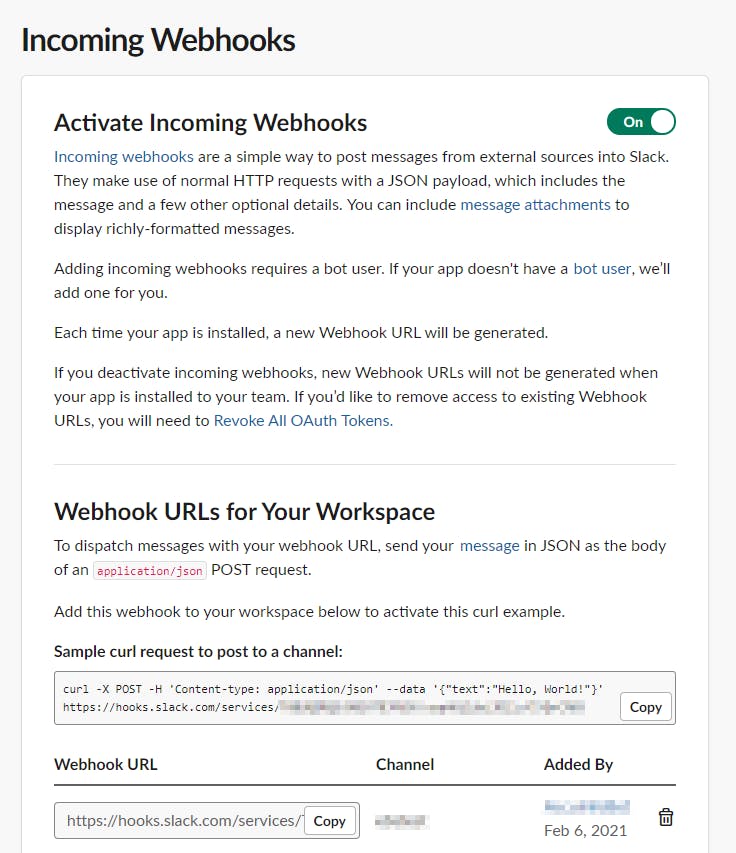
You can then copy and paste most of sample request directly into a Power Automate HTTP action, but just be aware that both the IDs for "channel" and "webhook" aren't completely accurate as the channel ID will change even if you reinstall the app in the same channel. For reusability, I would highly recommend creating a custom connector.
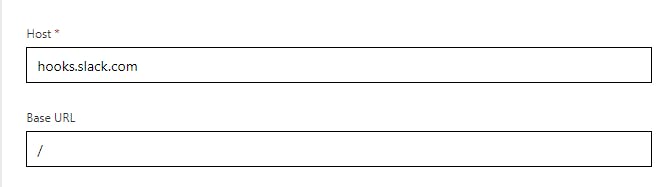
Go into Power Automate and create a new custom connector. You can use any icon you like, but I'd suggest going with a current platform icon. You will want to set the host to hooks.slack.com and base URL to / - these will override the definition values when you the Import from Sample button.
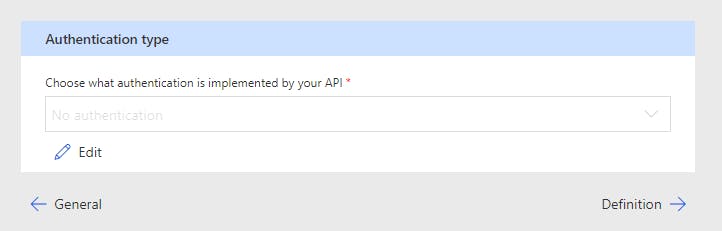
You can skip the Security step as no change is needed.
Now, go to Definition and add a new action. You can name the summary and operation ID as you sit fit, but I'd suggest "Send to Incoming Webhook." Use the Import from Sample button to generate the request and you can either use the URL from above or simplier would be use: hooks.slack.com/services/{workplace}/{channel}/{app}
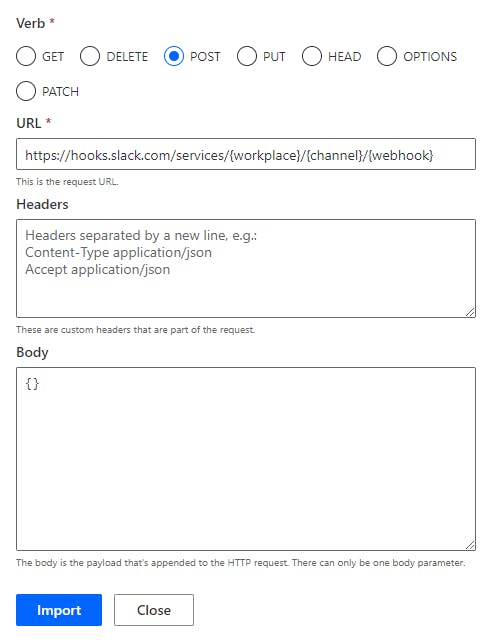
For the body, be sure to add curly brackets as we need the body to add text or JSON from Slack Block Kit. Save and update the connector and it is ready to use in Power Automate. In a future post, I'll go into detail about using blocks as the body for fancy looking Slack messages.