

When I was a kid, my parents took my brother and me on a trip to Florida. I can't really remember visiting Disney World, but I do remember us driving out to Cape Canaveral for a day. I was completely fascinated by the real equipment displays, my first IMAX movie, and the bus tour that took us incredibly close to a shuttle preparing to launch that week. The night of the launch, everyone in the hotel gathered in the parking lot and we all watched the rocket light up the eastern sky.
Components make the whole world better
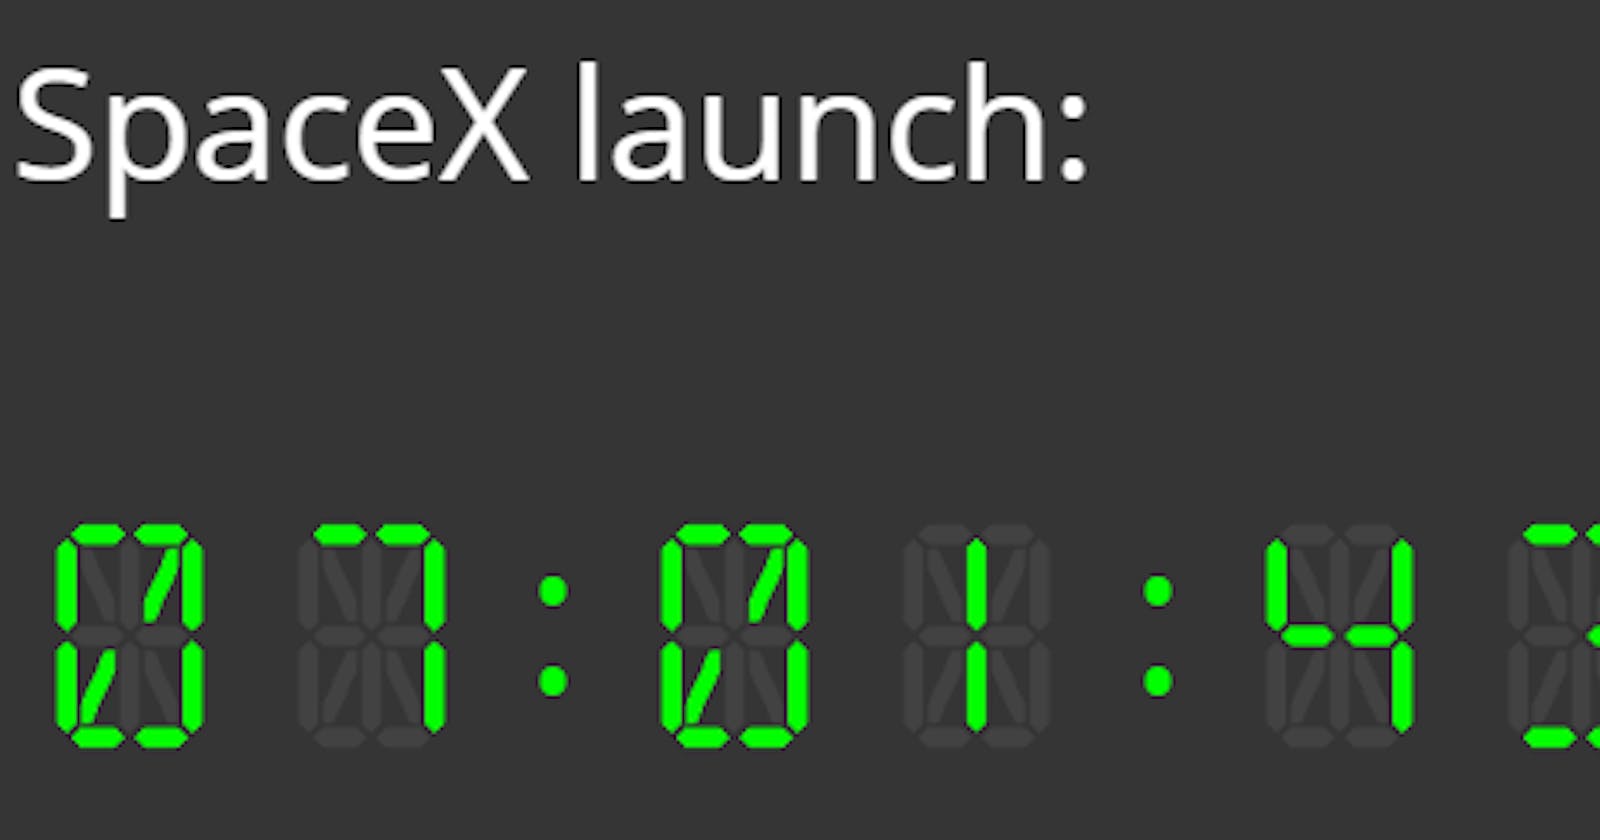
A couple of weeks ago, I saw on Twitter Hiro's 16 segment display component. At the time, I didn't have a use for it, but I saved it anyway because it was such a cool idea. Jump forward to last week, and it was the perfect thing to add to the r/SpaceX demo app I'm building.
After adding the component to my app, I found that Hiro implemented this using an image control for each letter/number. So in order to build the display, I wanted

I would have to use eight images and three text boxes for the colons, all wrapped in a container to cleanly organize them all. Static numbers were working, colons in the right places, time to use a timer. The timer control is necessary to update the numbers every second. At first, I tried using the timer to update variables for each of the digits with DateDiff and this worked until I got to the day digits. After a little bit of searching, I stumbled on to Mr. Dang's YouTube video on creating countdown timers. While I did use his suggestion to change the timer to just a repeating second (1,000 milliseconds), it was his day formula that finished my clock. For your reference, here are the formulas I used:
Timer.OnTimerEnd = Set(timeNow, Now())
imgd.Image = SegmentDisplay_1.sixteen_seg(Left(Text(DateDiff(timeNow, DateTimeValue("October 30, 2021 2:43 AM"), Days)), 1), "#424242", "#00FF00")
imgdd.Image = SegmentDisplay_1.sixteen_seg(Right(Text(DateDiff(timeNow, DateTimeValue("October 30, 2021 2:43 AM"), Days)), 1), "#424242", "#00FF00")
imgh.Image = SegmentDisplay_1.sixteen_seg(Left(Text(Time(0, 0, DateDiff(timeNow, DateTimeValue("October 30, 2021 2:43 AM"), Seconds)), "hh"), 1), "#424242", "#00FF00")
imghh.Image = SegmentDisplay_1.sixteen_seg(Right(Text(Time(0, 0, DateDiff(timeNow, DateTimeValue("October 30, 2021 2:43 AM"), Seconds)), "hh"), 1), "#424242", "#00FF00")
imgm.Image = SegmentDisplay_1.sixteen_seg(Left(Text(Time(0, 0, DateDiff(timeNow, DateTimeValue("October 30, 2021 2:43 AM"), Seconds)), "mm"), 1), "#424242", "#00FF00")
imgmm.Image = SegmentDisplay_1.sixteen_seg(Right(Text(Time(0, 0, DateDiff(timeNow, DateTimeValue("October 30, 2021 2:43 AM"), Seconds)), "mm"), 1), "#424242", "#00FF00")
imgs.Image = SegmentDisplay_1.sixteen_seg(Left(Text(Time(0, 0, DateDiff(timeNow, DateTimeValue("October 30, 2021 2:43 AM"), Seconds)), "ss"), 1), "#424242", "#00FF00")
imgss.Image = SegmentDisplay_1.sixteen_seg(Right(Text(Time(0, 0, DateDiff(timeNow, DateTimeValue("October 30, 2021 2:43 AM"), Seconds)), "ss"), 1), "#424242", "#00FF00")
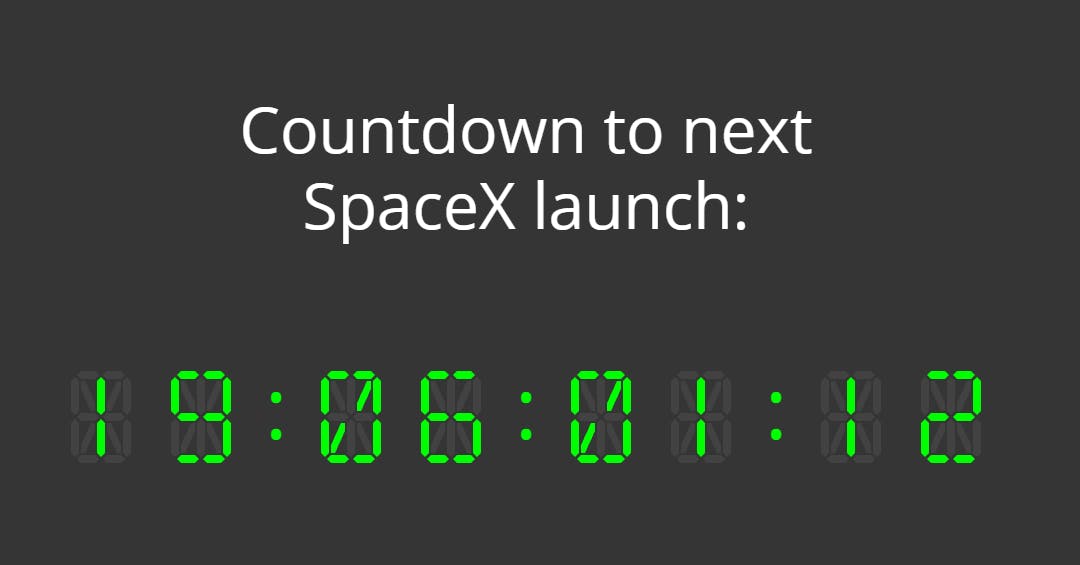
Let's put all the pieces together
The final clock looks pretty great: